There comes a time when you get asked to send a media kit and that’s when you start asking questions like, “Why me? Why now?” or “Why don’t I have one ready?” You see while I have been an educational blogger for about 3 years now, I only recently started ‘lifestyle/beauty blogging’ wand my blog is small. I mean tiny. So, imagine my surprise when a company asked me to send them my media kit. I was like, “What? Why?” Then I started doubting myself and telling myself, “What’s the use? I will only get rejected”. If you have that mind set fellow blogger, snap out of it. Now! Anyhow, I sat down and made one and I got taken on by the company, so I must’ve done something right. So today, I am going to share with you my media kit.

Some Background info first
I am a teacher and that affects my blogging. I teach Business English and I have learnt a few things about marketing and doing business cause I teach my students! I also create lessons that focus on marketing/business. I am a planner and I also like to outline stuff. So, I approached my media kit like a Business English Teacher/Blogger/Planner/Capricorn! So, let’s have a look at my media kit, the thought process behind it and my suggestions
Step 1- Getting the Right Mind Set
Get it in your head. Don’t panic. A media kit is a good thing. Try to connect with other bloggers and talk a bit about media kits. Exchange views. Suggestions. For me, that person was Tania and my blogger girlies. You can also read up on media kits and look at examples. I read 2-3 blog posts and looked at a couple of Google Images. But, don’t overwhelm yourself. Too much info is not always a good thing especially when you are pressed for time.
Step 2- Let’s Think
OK! Make yourself a cup of coffee and sit in front of your computer and look at your blog. Ask yourself some questions. E.g. “What defines you as a blogger? What do you write about? What are your strengths? What does your blog say about you? How will you convey that in your media kit?”
I knew that I wanted to make something fun but chic. I wanted polka dots. I love writing about lifestyle, beauty, but I also want to have some sort of impact and of course I had to have the colour pink (my blog is called My Pink Rambles!).

Let’s Plan
Step 3- Outline
Figure out what you will include in your media kit.
I decided on:
A blog banner
A picture of me
Bio
Interests
Social media Info
Info about blog stats/ readers
Samples of my work (variety of my work and pieces of writing I thought showed who I was as a blogger).
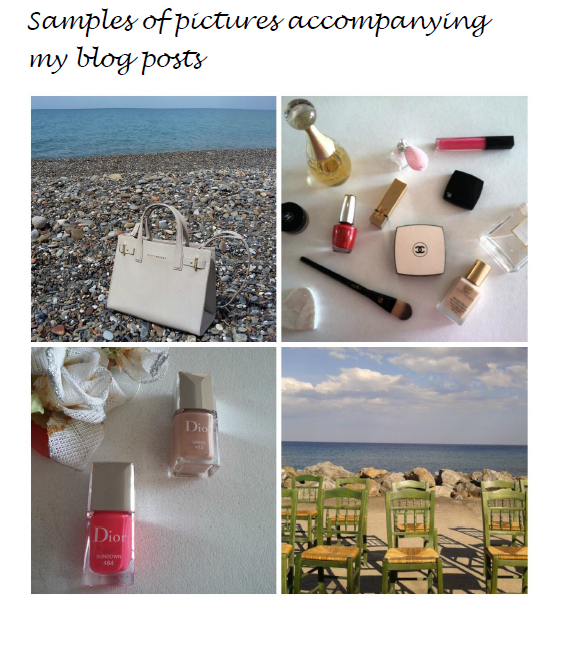
Samples of my pictures
Step 4- 1st Draft
I used Word to design my media kit. I used Word for various reasons, but the most important one is that I know how to use Word!! You see, I am a tech dummy and I am not that used to using different software, so I thought, go with what you know well. I increased my Word margins (the little rulers on the sides of word) so I could use my page to the maximum. I inserted tables and shapes. I used squares, ovals and circles and played with the borders of whatever I inserted. I found social media icons that were royalty free and chose the ones that I liked. The font I chose was Lucinda handwriting and Lucinda Sans. I also added page numbers. Because I have difficulty seeing, I didn’t want tiny fonts. I wanted everything to be as visible as possible! Word allows you to insert links and when you turn your file into a Pdf, the links are still there.
I also used Picmonkey for my picture collage.
My media Kit is 3 pages long ( most people online say it should be 2 pages long, but I wanted to include my pictures and not in a tiny size).
1st page is my info/blog info.
2nd page is samples of my work
3rd page is pictures
Step 5: Your Media Kit/ Final Draft
Check that everything looks fine. Proofread and save your final draft. Then turn everything into a Pdf file, send it and good luck!!
Avoiding my fails
I forgot to mention my blog followers and Bloglovin followers! You should include them!!
So there you have it! How I made my media kit. I hope you found this information useful.
You can download the steps and all the questions I asked myself + tips here.
STEP GUIDE on how to make a media kit
Do keep in mind that I am a new blogger and this is my 1st media kit. I decided to share this post because it may be helpful for other people who are in my shoes.
So, that’s all for now. I hope you liked this post.
Subscribe to my blog if you liked what you read. It does put a smile on my face. Maybe give my Facebook page a ‘like’ so you can get notifications of when I post? Connect with me on Pinterest / Twitter/ Instagram/Google+.
Talk soon
xx
Joanna

thanks for sharing! being a brand new blogger I’ve never experienced this yet, but will definitely use as a reference!
LikeLike
Wow this is great information, would never have thought of doing a media kit. Thanks 🙂
LikeLike
This is helpful! I have been thinking about starting to make my media kit and you’ve inspired me to start mine ASAP!
LikeLike
Super helpful post! I procrastinated like crazy when it came to creating my media kit and now I am so glad I have it. It houses all of the information brands look for!
LikeLike
Thanks for sharing such great media kit info. 🙂
LikeLike
This is so helpful! I have been doing lots of research on media kits lately!
LikeLike
This is a great post! I just decided to start back blogging and do a Media Kit myself this week! Part of my color scheme is pink, which is why I was attracted to this post.
Thanks for sharing!
xoxo,
La Deutsche Diva
http://www.ladeutschediva.com
♥ German ♥ English ♥
LikeLike
This is clear and informative. I’m a novice blogger with only minimal traffic but I’ll be prepared for the day I make it big lol – I’m always the optimist!
LikeLike
Thank you!! My blog is small as well, but I still needed to make a media kit, so I suggest you start thinking about what you would put in it. Slow and steady wins the race. Thanks so much for stopping by xxx
LikeLiked by 1 person